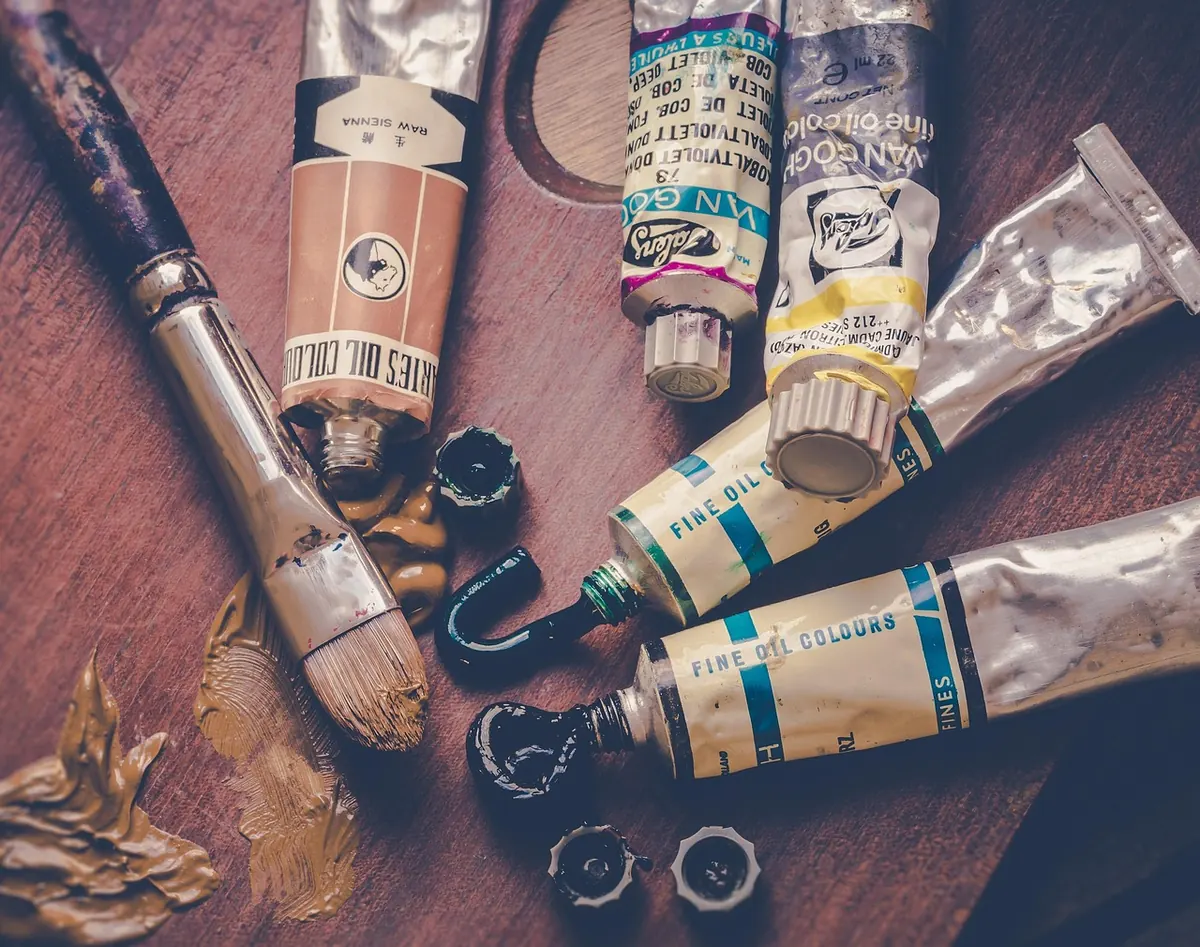
Ask a beginner what colour skin is and you will get something like "pinkish" or "brown". Paint a face with that answer and it looks like a mask. Skin is not one colour — it is a family of colours that shifts with the light, the shape of the form and the blood sitting just beneath the surface. The good news is that you do not need forty tubes to mix it convincingly. Six colours and a clear order of work will take you further than any set of pre-mixed flesh tints.
Why a limited palette suits skin better
Pre-mixed "flesh" colours look tempting in the shop and flat on the canvas. Someone else has already made the temperature and value decisions, so every passage of skin ends up the same tone, and the head reads as a cut-out. A limited palette forces you to mix for the light you are actually looking at, and it teaches you faster: when you know exactly which two colours produced an error, correcting it takes seconds.
Oil paint gives you a second advantage. Because it stays workable on the palette for hours, you can keep a mixed pile alive, adjust it through a session and hold it next to the stroke you laid down ten minutes ago. That comparison is where the learning happens.
Six colours that cover most skin
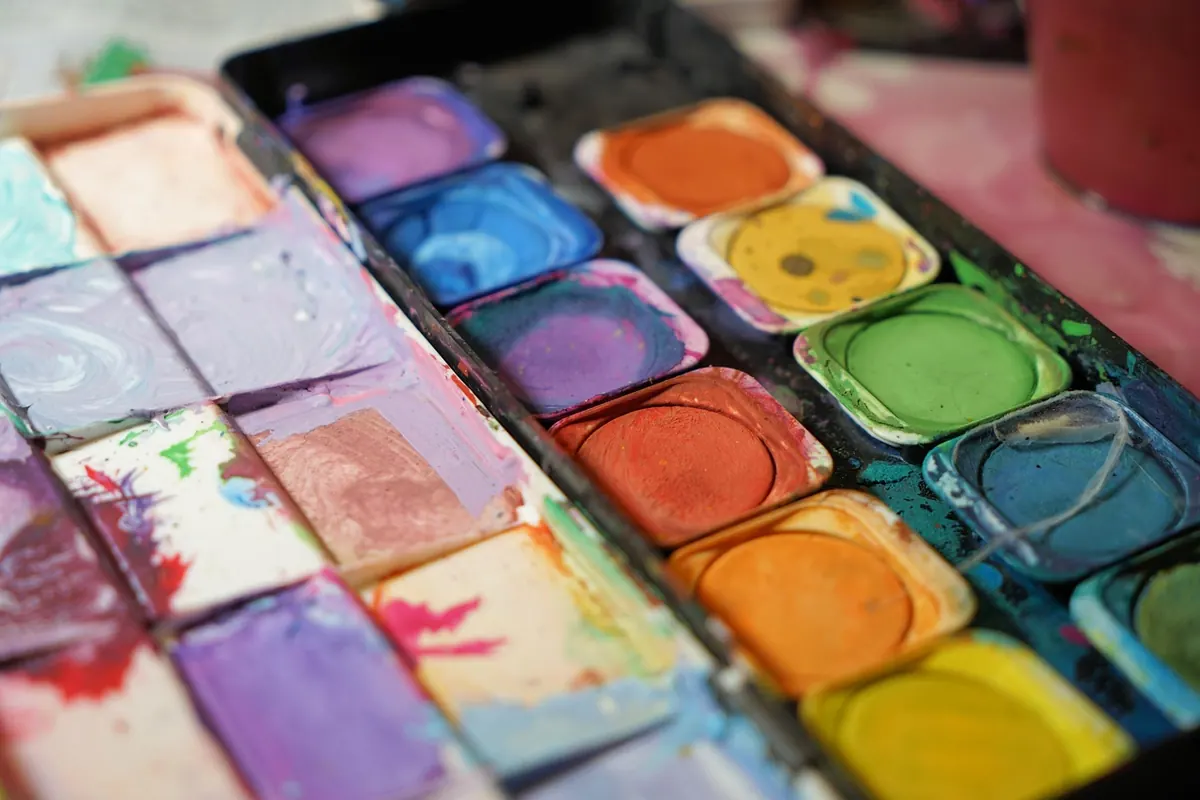
Start with these and add nothing until you can mix confidently with them:
- Titanium white — strong and opaque, so use it sparingly. Too much white is the fastest route to chalky, lifeless skin.
- Yellow ochre — the backbone of most mid-tone skin. Warm, slightly earthy, and it lightens without killing the colour.
- A warm red — cadmium red light or vermilion. This is the blood note: cheeks, ears, nose, knuckles.
- Burnt sienna — a warm transparent brown that does a great deal of the work in mid and deeper tones.
- Ultramarine blue — your cooling agent. It neutralises orange mixtures and builds shadow without dirt.
- Raw umber — darkens and desaturates gently, and it dries quickly, which helps when you are layering.
Useful additions once you are comfortable: alizarin crimson for cooler pinks and lips, and a Naples yellow if you want a softer, cooler light note.
The three-part mixing method
Mix in a fixed order. Value first, then temperature, then chroma. Most mud comes from jumping straight to "which pink is this?" before the tone is even the right lightness.
1. Value
Decide how light or dark the passage is compared with your white and your darkest dark. For a mid-tone, begin with a base of roughly two parts yellow ochre to one part burnt sienna and a small amount of white. For lighter skin in light, increase the white and reduce the sienna. For deeper skin, drop the white altogether and build on burnt sienna, raw umber and a touch of red.
2. Temperature
Now push the mix warm or cool. Add a little warm red where light hits bone — forehead, cheekbone, chin. Add a sliver of ultramarine where the form turns away from the light. Keep the additions tiny; ultramarine is powerful and a brush-tip too much will grey everything.
3. Chroma
Finally, decide how saturated the colour should be. Skin is usually less colourful than beginners expect, especially in shadow. If a mix looks garish, neutralise it with a fraction of its opposite — ultramarine for an orange mix, a touch of yellow ochre for a violet one. If it looks dusty, lift it with a clean warm red rather than more white.
Test every mix by pulling a small stroke onto the canvas beside the previous one and looking at both together. Paint judged on the palette lies; paint judged next to its neighbour tells the truth.
Adapting the mix for different skin tones
The method stays the same. What changes is the balance of white, earth and red, and how much the light can bounce around.
Lighter skin
Yellow ochre, a little white, a warm red for glow and a trace of ultramarine for the turning forms. Keep the darks warm rather than grey — a nose shadow is usually a deeper, redder version of the skin, not a cool grey.
Medium and olive skin
Yellow ochre and burnt sienna in roughly equal parts make a solid base. Olive undertones want a hint of blue or even a small amount of green mixed into the base; golden undertones want more ochre and a touch of orange.
Deeper skin
Build from burnt sienna, raw umber, ultramarine and a warm red, and lighten with yellow ochre or a warm earth rather than white. White alone turns deep skin grey-blue and dull. Deep skin also reflects far more light than beginners assume: look for warm highlights and cool, luminous shadows, and keep the darkest darks rich, not black.
Two mistakes that make skin look dead
- Reaching for black to make a shadow. Black kills the colour and reads as dirt. Darken with raw umber, burnt sienna and ultramarine instead.
- Over-blending. Smoothing every edge into its neighbour turns a face into a soft blur. Lay the stroke, leave it, and let the transitions do their work. Facial planes need edges.
An exercise that trains the eye quickly
Set a small canvas or primed board and paint ten one-inch swatches from a single photograph or, far better, from a face in front of you. Label each with the colours you used. Do this for three sessions with different lighting — warm indoor light, cool north-facing daylight, shadow. Keep the boards. After a fortnight you will be mixing skin without thinking about the recipe, and that is exactly the point at which you can start breaking it.
Mix, test, adjust
Keep your palette small, work in order, and compare every mix against the one before it. Skin rewards patience far more than it rewards expensive pigments. Add a little, test it on the canvas, and adjust. If you want to go further, paint a simple head study from life each week with the same six colours — the small, unglamorous studies are the ones that teach your hand what no written recipe can.
Photo: Ylanite / Pixabay